Most people wash their car and call it done. The paint still holds swirl marks, brake dust still sits on the wheels, and the trunk still smells like last week’s gym bag. A real car detailing checklist catches what a quick rinse misses, and it does it in the right order, because washing before waxing and vacuuming before wiping actually matters.
This guide covers every stage, from the first pre-rinse to the final walk-around under direct light. You’ll learn how exterior and interior steps connect, which products match which seat material, and when a clay bar or paint correction actually earns its cost. Discover below what separates a basic wash from a full detail, and why the order you work in changes the result.
Quick Car Detailing Checklist
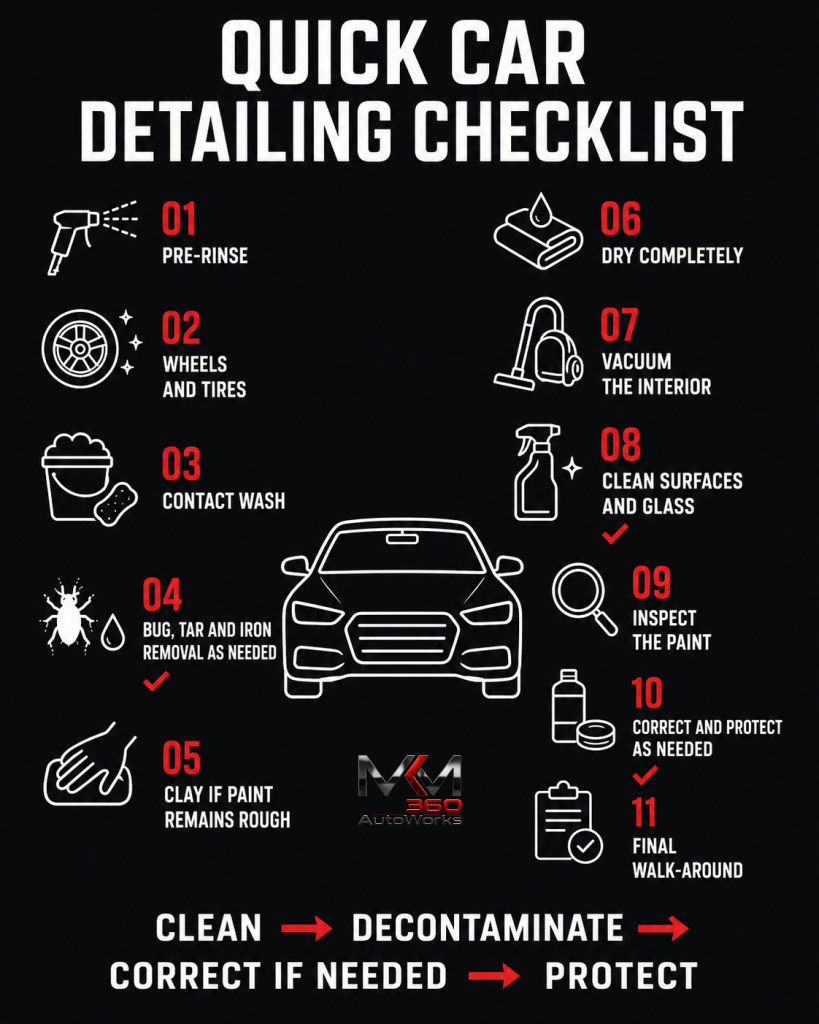
Not every detail needs a full day. Save this car detailing checklist template for a fast, thorough pass before a road trip or sale.
- Exterior wash
- Wheels and tires
- Bugs and tar removal
- Interior vacuum
- Seats and carpets
- Dashboard and console
- Glass, inside and out
- Final walk-around
This sequence eliminates redundant steps. It ensures you vacuum dirt away before wiping down surfaces.
What Is Included in a Full Car Detail?
Basic wash vs. full detail
A basic wash only cleans the surface: soap, water, rinse. Nothing below the surface gets treated, and the interior is usually untouched.
A full detail includes exterior cleaning, interior cleaning, decontamination, and protection, and concludes with a final inspection. Decontamination, the step most people skip at home, removes bonded contaminants like tree sap, rail dust, and iron particles that washing alone can’t lift.
Why protection and inspection matter
Protection is what separates a detail from a wipe-down, as wax, sealant, or ceramic coating shields paint from UV and road grime. The final inspection checks the work under direct light, not a quick garage glance, since overhead shop lighting hides most surface defects.
Exterior Car Detailing Guide
Wash order and wheel priority
Exterior detailing follows a strict order. Skipping or reordering steps can scratch the paint.
- Pre-rinse to remove loose dirt before contact.
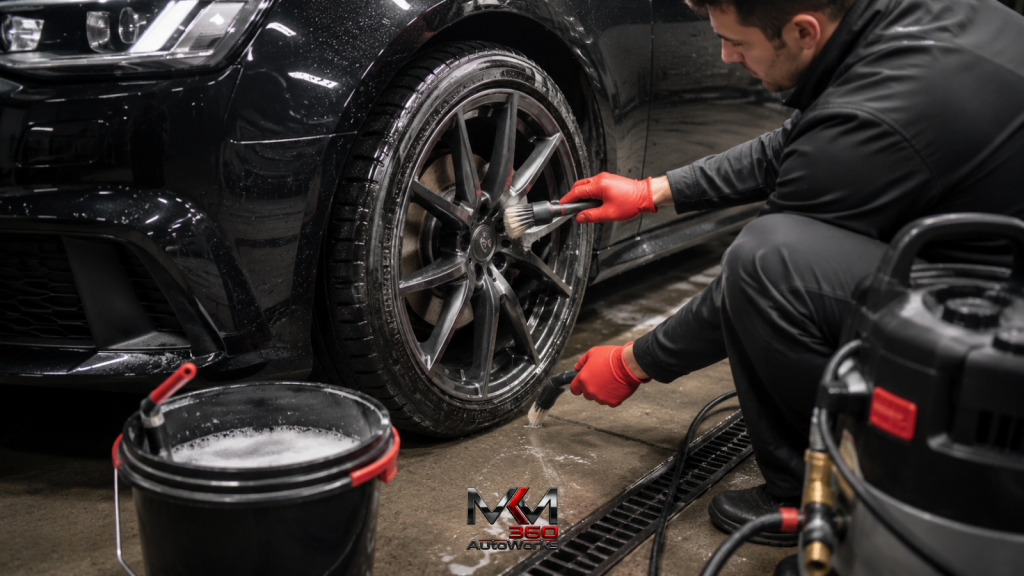
- Wheels and tires first, so dirt and brake dust from the wheels don’t transfer onto wash mitts or towels and drag across the paint later in the process.
- Hand wash using the two-bucket method to avoid dragging dirt across the paint.
- Bug and tar removal with a dedicated remover, not a scrub pad.
- Iron fallout removal to pull embedded metal from the clear coat.
- Clay bar treatment if paint still feels rough after washing.
- Drying with a microfiber towel or air blower to prevent water spots.
Finishing touches
Finish with glass, trim, and door jambs. Jambs collect grime that transfers to clothes and cargo every time the door opens, so they’re worth the extra minutes even though they’re easy to forget.
Interior Car Detailing Guide
Clearing, Vacuuming, and Surface Cleaning
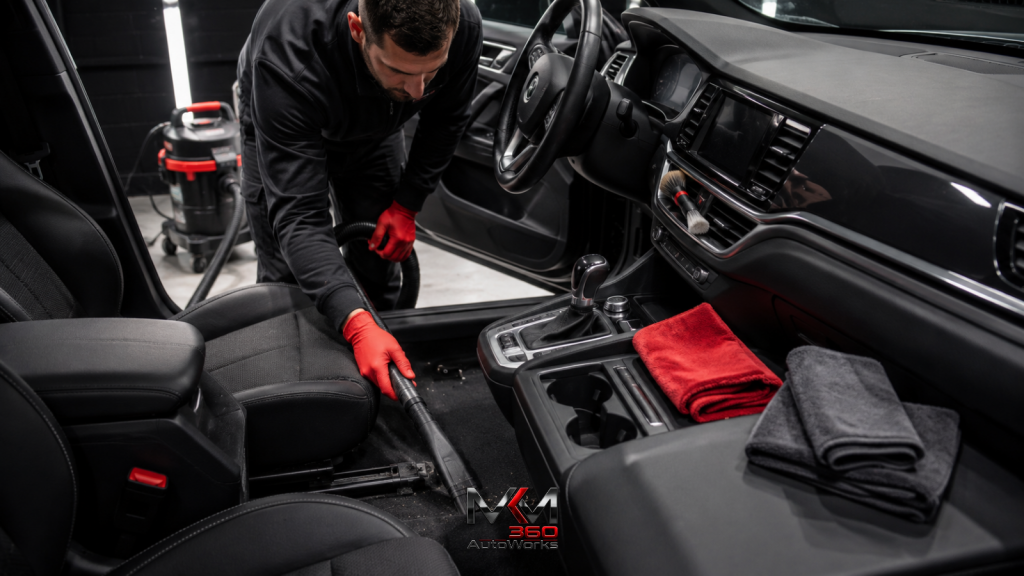
A solid interior car detailing guide starts with clearing trash. You can’t clean around wrappers and cups.
- Remove and clean the floor mats separately.
- Vacuum and spot-treat the carpets as needed.
- Vacuum and wipe or shampoo the seats, depending on the material.
- Wipe down and condition the dashboard and center console if needed.
- Clean the air vents with a soft brush to remove dust.
- Clean the cupholders and pedals, which are often the dirtiest areas.
- Vacuum and wipe the trunk like the rest of the cabin.
- Clean the interior glass with a separate cloth to prevent streaks.
Matching product to seat material
Seat material dictates your product choice. Leather isn’t all the same. Older, uncoated leather requires a pH-balanced cleaner and conditioner, while most modern automotive leather has a protective coating that requires a specific coated-leather cleaner, not a conditioner. Cloth and vinyl tolerate a wider range of cleaners.
Odor treatment order
Odor treatment comes last, once everything else is clean and dry; treating odor first just masks the source instead of removing it. Cabin odor can come from food, smoke, mold, a dirty HVAC system, or trapped moisture. Spraying over any of these just covers the smell until it comes back.
Paint and Protection Guide
Identifying paint defects
Paint inspection comes before any product touches the car. Check panels under direct light, ideally sunlight or an inspection lamp; overhead garage lighting hides most defects.
| Defect | What Causes It |
| Swirl marks | Improper washing or drying technique |
| Water spots | Mineral deposits left when water dries on the surface |
| Rough paint | Bonded contaminants sitting above the clear coat |
Correction and clear coat risk
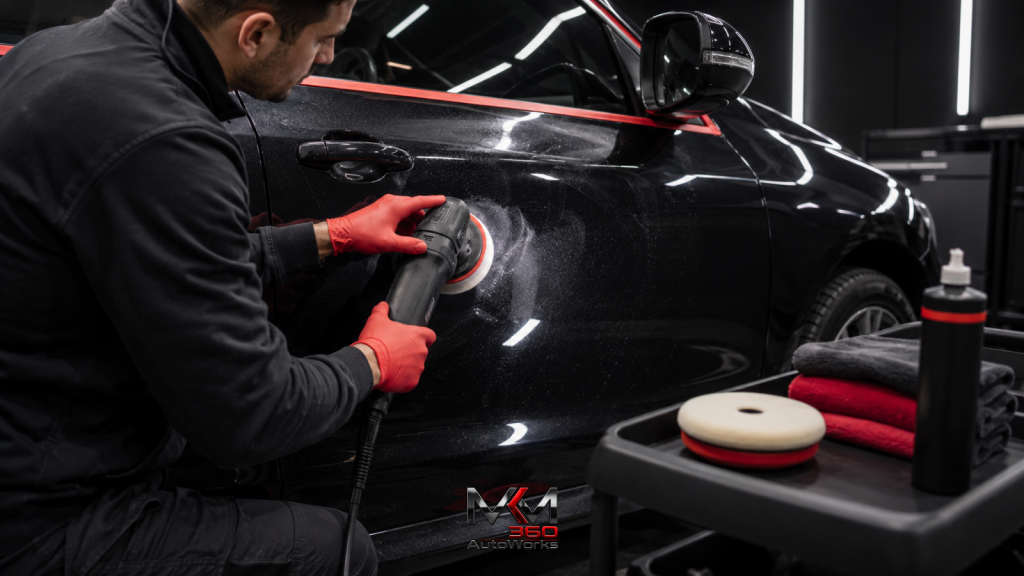
If paint feels rough, a clay bar lifts embedded contaminants before polishing. Polishing restores gloss and fixes light swirls. Paint correction uses machines and cutting compounds to address deeper scratches and oxidation, but only if the defect lies within the safe portion of the clear coat.
A scratch running deeper won’t polish out. Both processes remove a thin layer of the factory clear coat (typically 1.5 to 2.5 mils thick), so aggressive passes can cut straight through it – a mistake that requires an expensive repaint to fix.
Applying protection in the right order
Protection must follow correction, not precede it. Coating over uncorrected paint seals existing swirls under a layer that is highly difficult to remove later.
Wax offers the shortest lifespan, sealants hold up longer, and ceramic coatings last the longest by forming a hard, bonded layer over the clear coat rather than just sitting on top. Exact longevity depends on the specific product, paint prep quality, washing frequency, climate, mileage, and vehicle storage.
DIY vs Professional Auto Detailing Guide
Some tasks are easy to handle at home with basic tools. Others need equipment, training, or a controlled environment.
| Task | DIY | Pro Recommended | Why |
| Vacuuming | Yes | Yes | Low skill, low risk |
| Hand wash | Yes | Yes | Two-bucket method is easy to learn |
| Clay bar | Sometimes | Yes | Wrong lubricant can mar the surface |
| Stain extraction | Sometimes | Yes | Wrong cleaner can set the stain permanently |
| Odor removal | Sometimes | Yes | Masking without drying lets it return |
| Paint correction | No/advanced | Yes | Wrong speed burns through clear coat |
| Ceramic coating | No/advanced | Yes | Defects get sealed in permanently |
A single wrong pass on correction or coating prep removes more clear coat than intended, with no way to add material back.
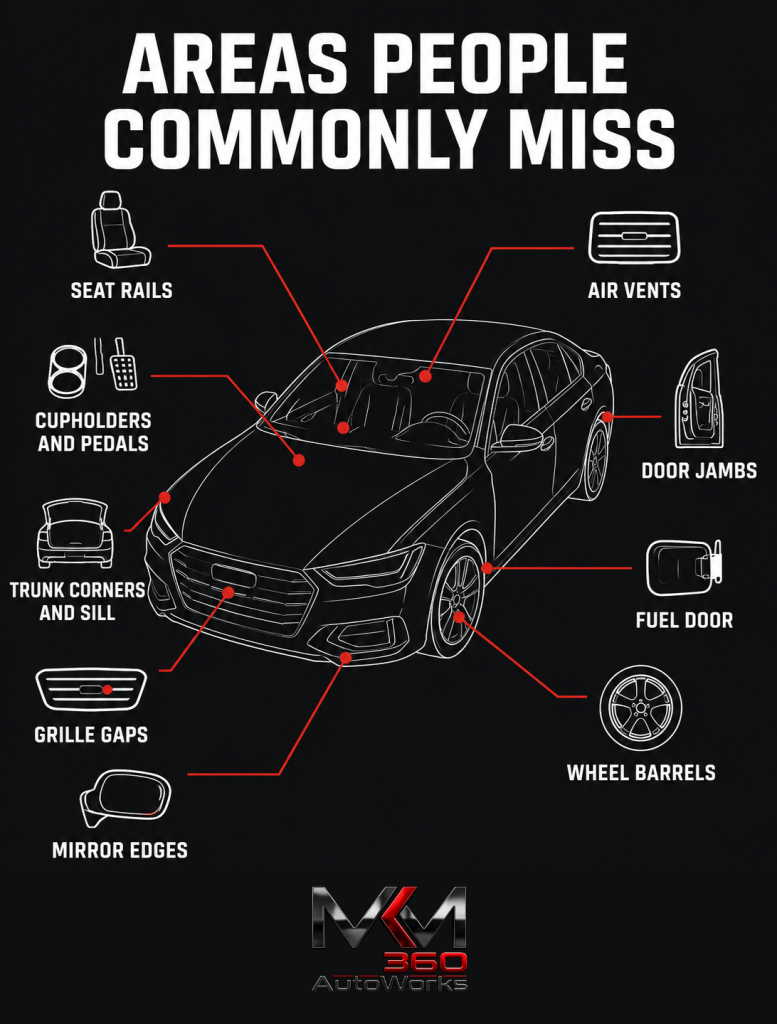
Common Areas Detailers Miss
Interior blind spots
- Seat rails and undersides – Debris builds up fast out of sight
- Vents, cupholders, and pedals – Small, awkward spaces easily skipped
- Door jambs and trunk corners – Missed because they sit outside main zones
Exterior blind spots
- Fuel door and grille gaps – Trapped grime misses standard rinses
- Wheel barrels – Heavy brake dust hides behind the spokes
- Mirror edges – Tiny gaps easily skipped during the final wipe-down
How Often Should You Detail Your Car?
Wash your vehicle every one to two weeks, and vacuum the interior every two to four weeks. Daily drivers require a full detail and fresh protection every three to six months, though outdoor parking, coastal air, or road salt will shorten this timeline.
Clay bar treatments and paint correction are condition-based, not schedule-based. Only use a clay bar if the paint feels gritty after a wash, and only perform paint correction when visible swirl marks, scratches, or oxidation appear.
Conclusion
A car detailing checklist only works if you follow the order. Wash before wax, vacuum before wiping, correct before coating. Skip a step or swap the sequence, and you redo work or damage paint that took years to build up.
At the end of the day, the process rewards patience over shortcuts. Whether you’re doing a quick pass or a full detail, sticking to the order gets real results. Follow it once, and it becomes second nature every time after.